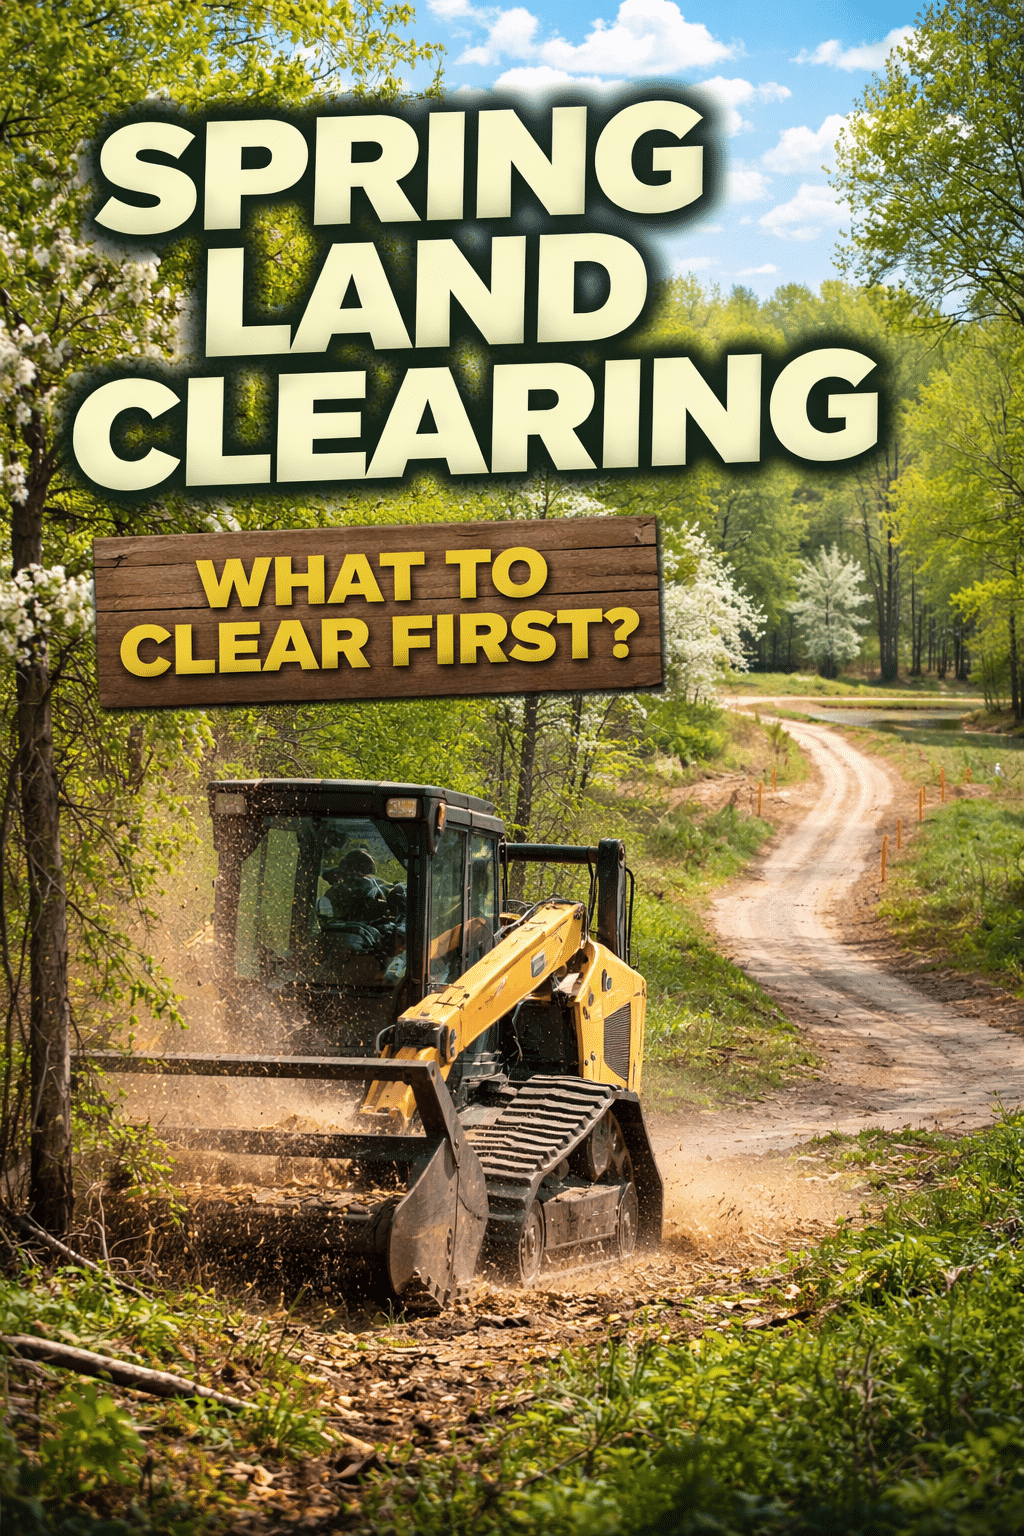
Don’t Let Spring Turn Your Property Into a Mud-Themed Escape Room
Spring projects are exciting… until your contractor can’t reach the site, your “driveway” becomes a slurry slide, and everyone’s asking, “So… who cleared what first?”
If you’re planning a build, driveway, pond, access road, pole barn, or any combo platter of the above, the smartest move is to prioritize clearing in the right order, so the rest of your project stacks neatly instead of collapsing like a cheap lawn chair.
One practical reality to anchor this: site prep is often a 1–4 week phase on many builds, so if clearing happens late, it can easily push timelines back by weeks.
Let’s break down what to clear first (and why), so your spring project starts with traction, not tire ruts.
Schedule a Spring Clearing Consultation
Why “Clear First” Matters More Than “Clear Fast”
Land clearing isn’t just removing trees and brush. It’s the beginning of your project’s sequence:
- Access determines whether machines and materials can even get to the work area.
- Drainage + grading prep determines whether the site stays stable or turns into rework.
- Staging space determines whether crews work efficiently or play daily Tetris with equipment.
And rework is where budgets and patience go to die. Construction rework is commonly driven by planning/process issues and “fixing what wasn’t right the first time.”
The Big Rule: Clear for Access Before You Clear for Beauty
If you remember one thing, make it this:
Step 1: Clear the way in
Before you touch the build area, clear:
- The entry point (gate line / roadside opening)
- The equipment path to the work zone
- A turnaround zone (because backing trailers through woods is a trust fall exercise nobody asked for)
Why it matters: Spring thaw and soft ground can wreck access fast, and stabilizing “the road in” is often the difference between progress and postponement.
If you’re unsure where that access should go, schedule a Spring Clearing Consultation and we’ll help you map it out.
What Should Be Cleared First? A Simple Priority Ladder
Here’s the order we typically recommend for spring projects… because it supports everything else.
1) Access Roads + Temporary Construction Drive
This is your project’s spine.
Clear first:
- Trees/brush along the route
- Overhangs that will snag equipment
- Soft spots that will churn up during thaw
Pro tip: If you need culverts or a gravel base, plan that early – spring moisture is not forgiving.
2) Staging Area (a.k.a. “Where Stuff Goes”)
You need a place for:
- Equipment
- Gravel/stone
- Fill/topsoil stockpiles
- Dump trailers / debris piles
Clear first:
- A flat-ish area near the access road
- Enough space that trades aren’t stacking materials on your future septic field (it happens)
3) Building Pad / Structure Footprint
Whether it’s a home, pole barn, garage, or cabin… this is where precision starts.
Clear first:
- The footprint + working buffer around it
- Trees that threaten overhead clearance
- Organic material that shouldn’t be under a future foundation area
Reality check: Many build timelines call out site prep as a dedicated phase (often 1–4 weeks), and clearing/grading is a core part of that. Doing it early helps prevent weeks of schedule slip once crews are ready to mobilize.
4) Drainage Pathways + Rough Grade Plan
This is the part most landowners wish they did first… after they didn’t.
Poor grading/drainage shows up as:
- Water pooling where you don’t want it
- Rutting and soft spots that keep coming back
- Access that degrades every time it rains
Improper runoff management tied to grading is a major issue in site development and land performance overall.
Clear first:
- Swales / drainage corridors
- Areas that need to shed water away from the build
- Ditches alongside access roads
5) Utilities + Future Service Routes
Even if utilities come later, you want the routes planned early.
Clear first:
- Paths for trenching (power, water, gas)
- Areas near the structure where service entry will happen
6) Pond Area + Spoil Placement
Ponds are awesome. Pond spoil piles placed randomly are… less awesome.
Clear first:
- Pond footprint
- Access route for excavation equipment
- A planned area for spoil (so you don’t bury your own access road in dirt)
“What If My Project Is ______?” Fast Answers
If you’re building a home or cabin
Clear first:
- Access road
- Staging area
- Building pad
- Drainage plan
Then: utilities route, septic/well access, finishing clears.
If you’re doing a driveway (especially long/rural)
Clear first:
- Entry + turnaround
- Full driveway corridor (width + equipment buffer)
- Drainage/ditching zones
Then: base build-up, culverts, final trimming.
If you’re adding an access road to hunting land
Clear first:
- The “spine route” to your key spots
- Turnarounds/pull-offs
- Problem soft spots (spring thaw areas)
Then: optional branching lanes.
If you’re doing a pond
Clear first:
- Access for equipment
- Pond footprint
- Spoil placement area
Then: overflow/drainage plan and finishing.
The “Don’t Skip These” Pre-Clearing Checks
Before any land clearing begins, make sure you’ve handled the boring-but-critical stuff:
- Property lines: Don’t guess. Guessing is expensive.
- Permits / local rules: Especially near wetlands or waterways.
- Utility locates: If there’s any chance of buried services, get them marked.
- Wet areas: Spring reveals drainage problems clearly – use that information instead of fighting it.
A Practical Mini-Checklist: The First 72 Hours of a Smart Spring Clear
If you want your land clearing plan to feel like a well-run operation (instead of a reality show), aim for:
- Walk the site + mark the route in
- Identify staging + turnaround
- Flag building pad + drainage flow
- Decide what stays vs. goes (windbreaks, privacy lines, shade trees)
- Plan debris handling (pile/burn where allowed, haul-off, etc.)
Common Mistake: Clearing the “Pretty Area” First
It’s tempting to clear the view, the future backyard, or the “we’ll put chairs here someday” spot first.
But if access and staging aren’t done, the rest of the job becomes:
- slower,
- messier,
- and more likely to need grading fixes later.
And once you’re reworking, you’re paying twice… once for the original effort, and again for the fix.
Ready to Prioritize the Right Clears First?
If you tell us what you’re building (and where), we’ll help you prioritize a clearing plan that supports the whole project – driveways, pads, ponds, access roads, the works.
Schedule a Spring Clearing Consultation
Let’s get your site ready early so spring feels like a green light, not a mud season hostage situation.
Bonus: We can also identify the “hidden time-wasters” (access choke points, drainage traps, staging bottlenecks) before equipment ever shows up.
H2: FAQs – Preparing Land for Spring Projects
1) What should I clear first if I’m building this spring?
Start with access and staging – the driveway/entry route for equipment, a turnaround, and a flat area to stage gravel, lumber, and machines. Once the site is reachable and workable, then clear the building pad and drainage paths.
2) How early should I schedule spring land clearing?
Earlier than your contractor’s “we’ll be there next week.” 😉
Ideally, schedule clearing before crews need to mobilize so you’re not waiting on site access, drying time, or surprise soft spots. The earlier you clear, the easier it is to plan grading, material delivery, and equipment movement.
3) Do I need to clear everything, or can I keep some trees and brush?
You can absolutely keep trees – strategically. Many landowners keep trees for privacy, shade, windbreaks, and aesthetics. The key is clearing what impacts access, safety, drainage, and the build footprint, while preserving what you actually want long-term.
4) What’s the difference between land clearing and site prep/grading?
Land clearing removes trees, brush, and obstacles.
Site prep/grading shapes the ground to support construction… managing drainage, leveling pads, building up drive bases, and preventing future settling and water issues. Clearing is often step one; grading is what makes it build-ready.
5) What’s the biggest mistake landowners make in spring projects?
Clearing the “pretty area” first.
It feels productive… until the equipment can’t reach the site, materials have nowhere to go, and spring moisture turns your access route into a trench system. Clear for access → staging → pad → drainage and you’ll save time, money, and stress.
6) Can you clear land if the ground is wet or muddy?
Sometimes… but it depends on your soil, slope, access, and what equipment needs to be brought in. Spring thaw is notorious for soft ground. In many cases, we can plan a smart approach that prevents rutting and protects the areas you don’t want torn up.
7) What do you need from me before you start clearing?
The more clarity, the smoother the job:
- A general plan for what you’re building (house, barn, pond, driveway, etc.)
- Your preferred access route
- Any “must-keep” trees/areas
- Awareness of property lines and any known utilities
If you’re unsure on any of that, no problem- this is exactly why we offer a Spring Clearing Consultation.
Ready to get your property prepped the right way (and in the right order)?
Schedule a Spring Clearing Consultation